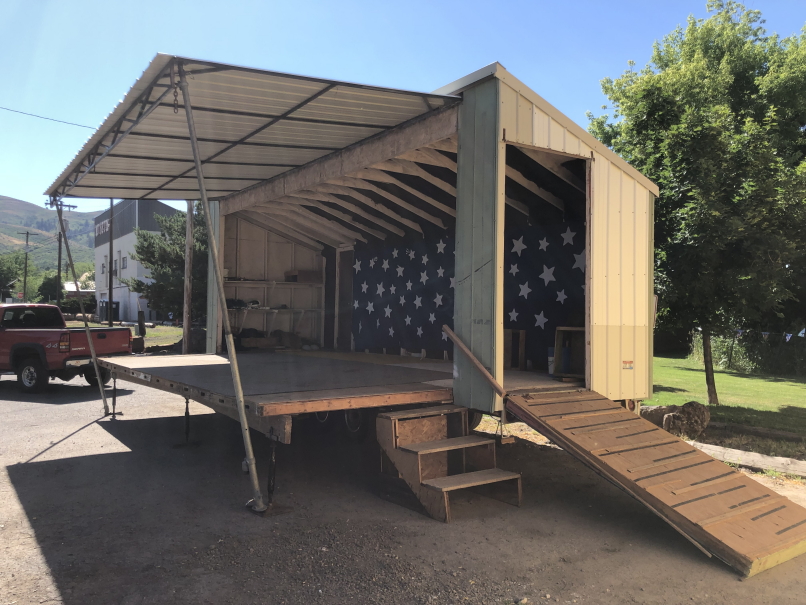
How to set up the Council Cultural Arts Committee portable stage
The hitch needs a 2 5/16” ball.
The hitch is open when this lever is up:
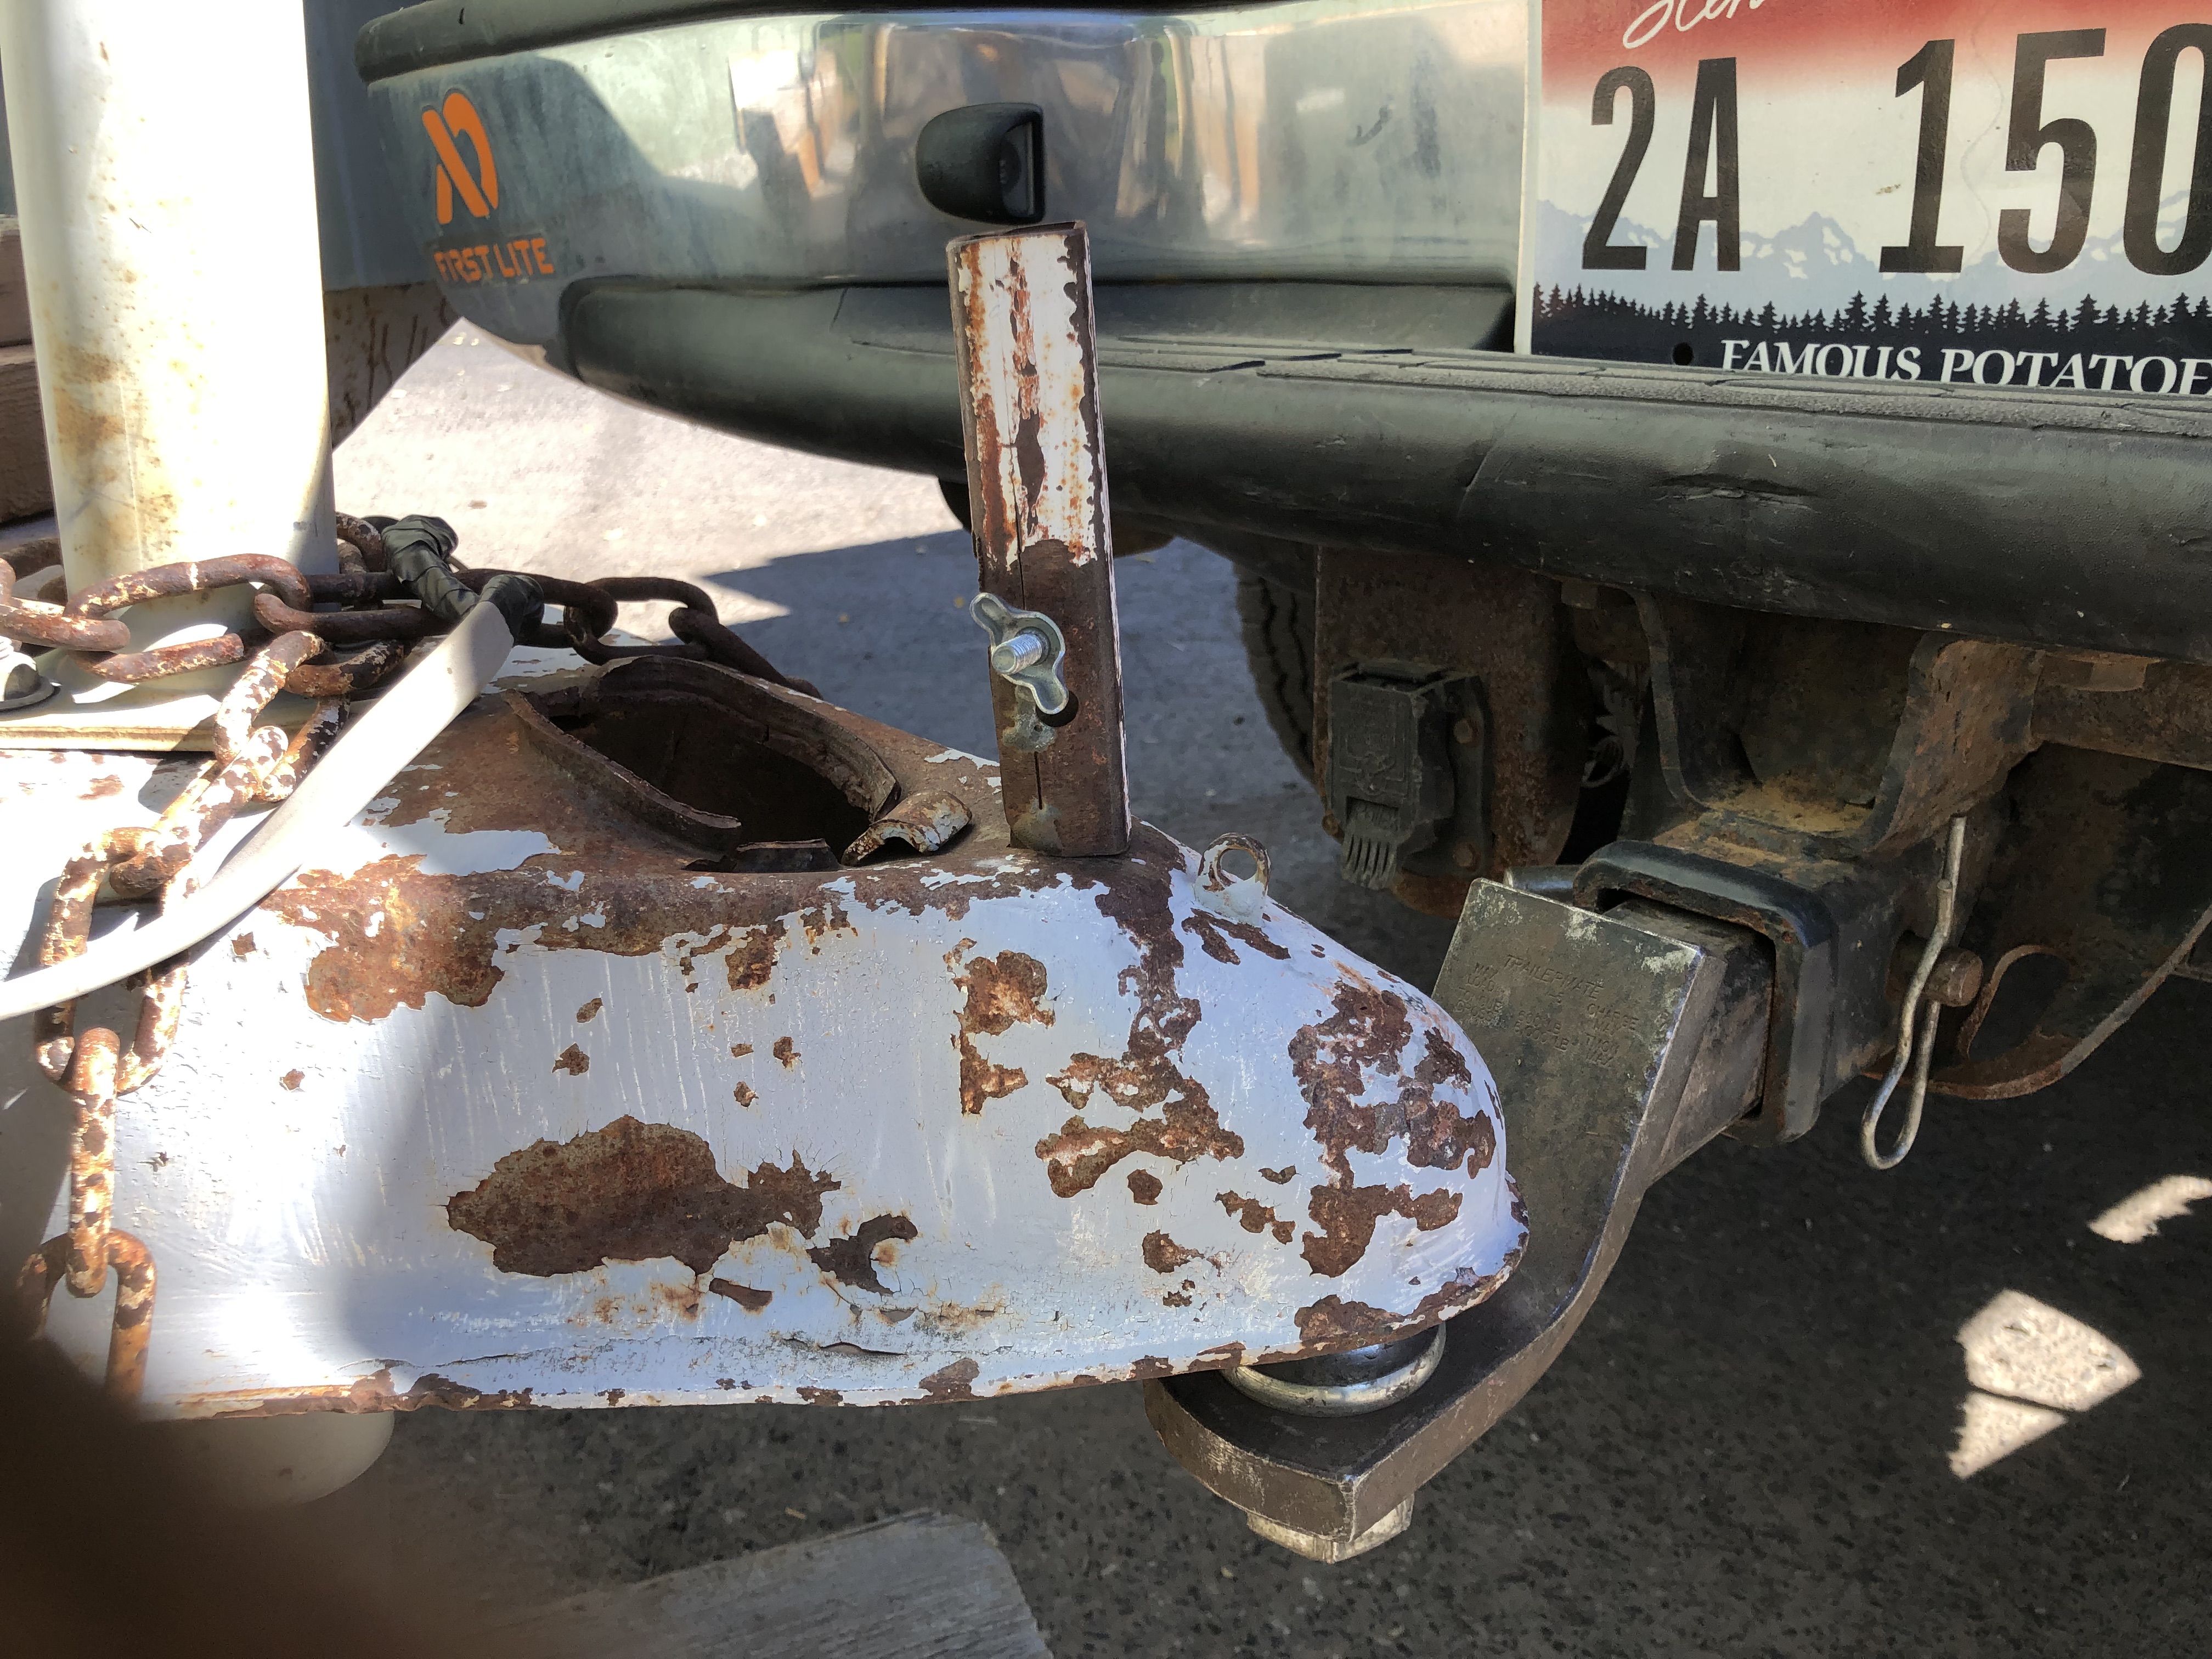
The hitch is locked for transport when down:

1 – Park and level the stage. End to end leveling is accomplished with the front jack. Side to side leveling may take boards under the tires on one side. To place such boards, it will be necessary to move the stage forward or backward, place the boards and them move the stage onto them and check the level. A number of boards of various sizes should be inside the stage.
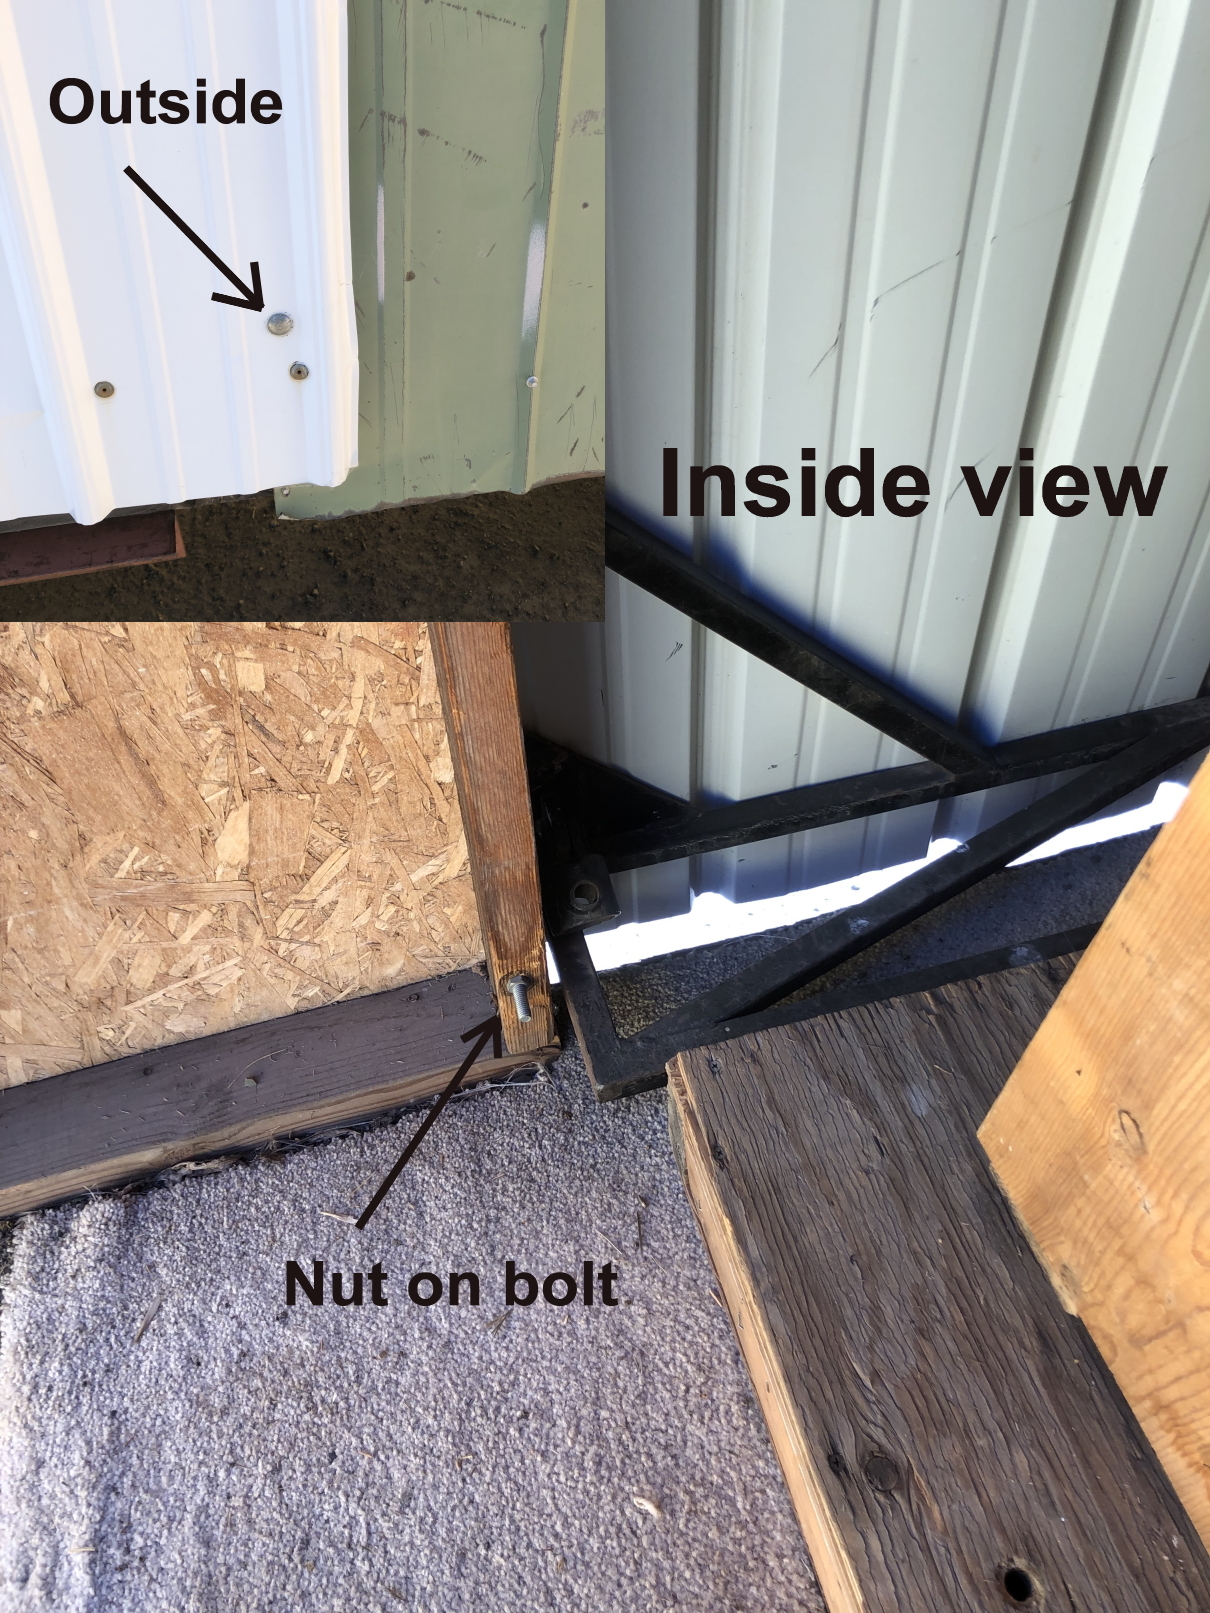
2- Opening the ramp/door. A bolt or pin needs to be removed that holds the lever in place, Lift the lever, which should disengage the metal pieces at the top. (When closing this ramp/door, it needs to be slammed a little to get the metal pieces to go under the tabs when the lever is pushed down.)
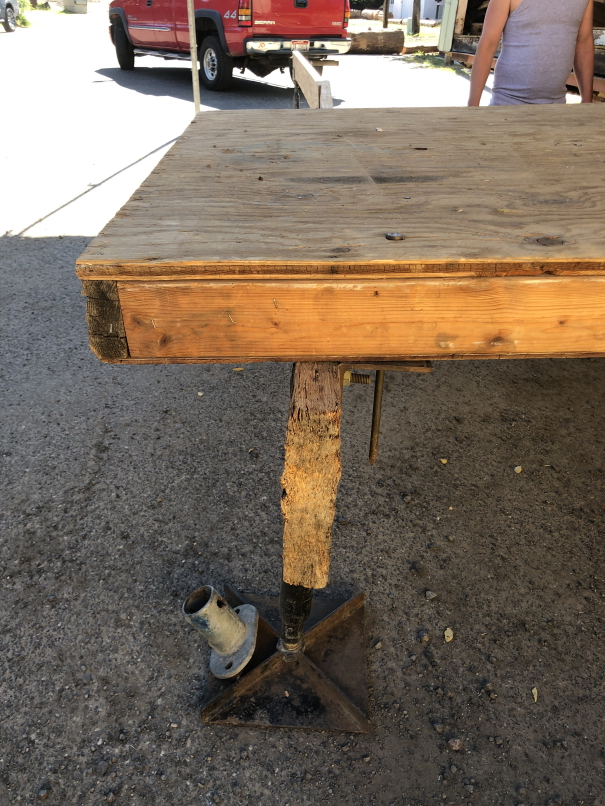
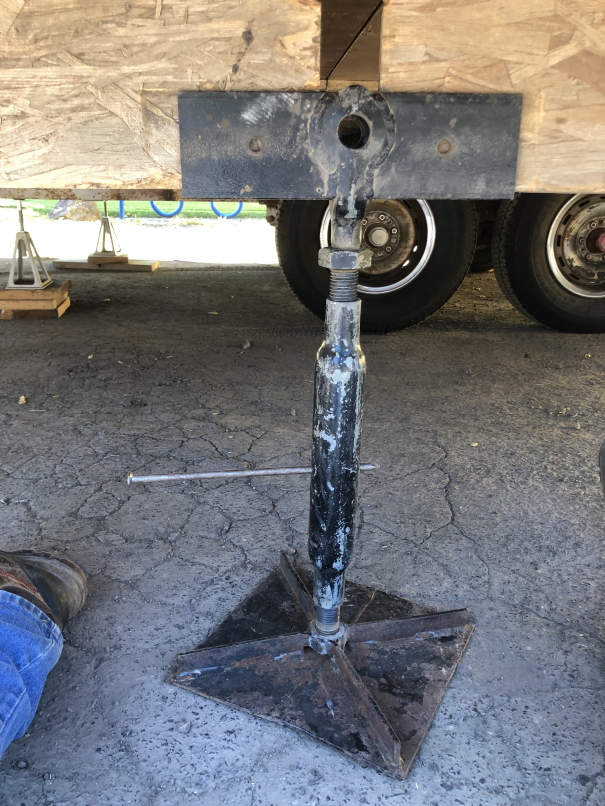
2a -- Place the 4 trailer jacks at the frontmost and rearmost point of the lower stage frame on each side. Use wood blocks under them to achieve enough height. Srew the jacks up until snug agains the frame; this stablizes the stage and takes stress off the tounge jack.
3- Remove the two 8 to 10-inch-long bolts
from each bottom corner of the awning. A wrench should not be
necessary, as they only need to be finger-tight. Screw the nuts back
on a little, and put the bolts in the 5-gallon bucket.
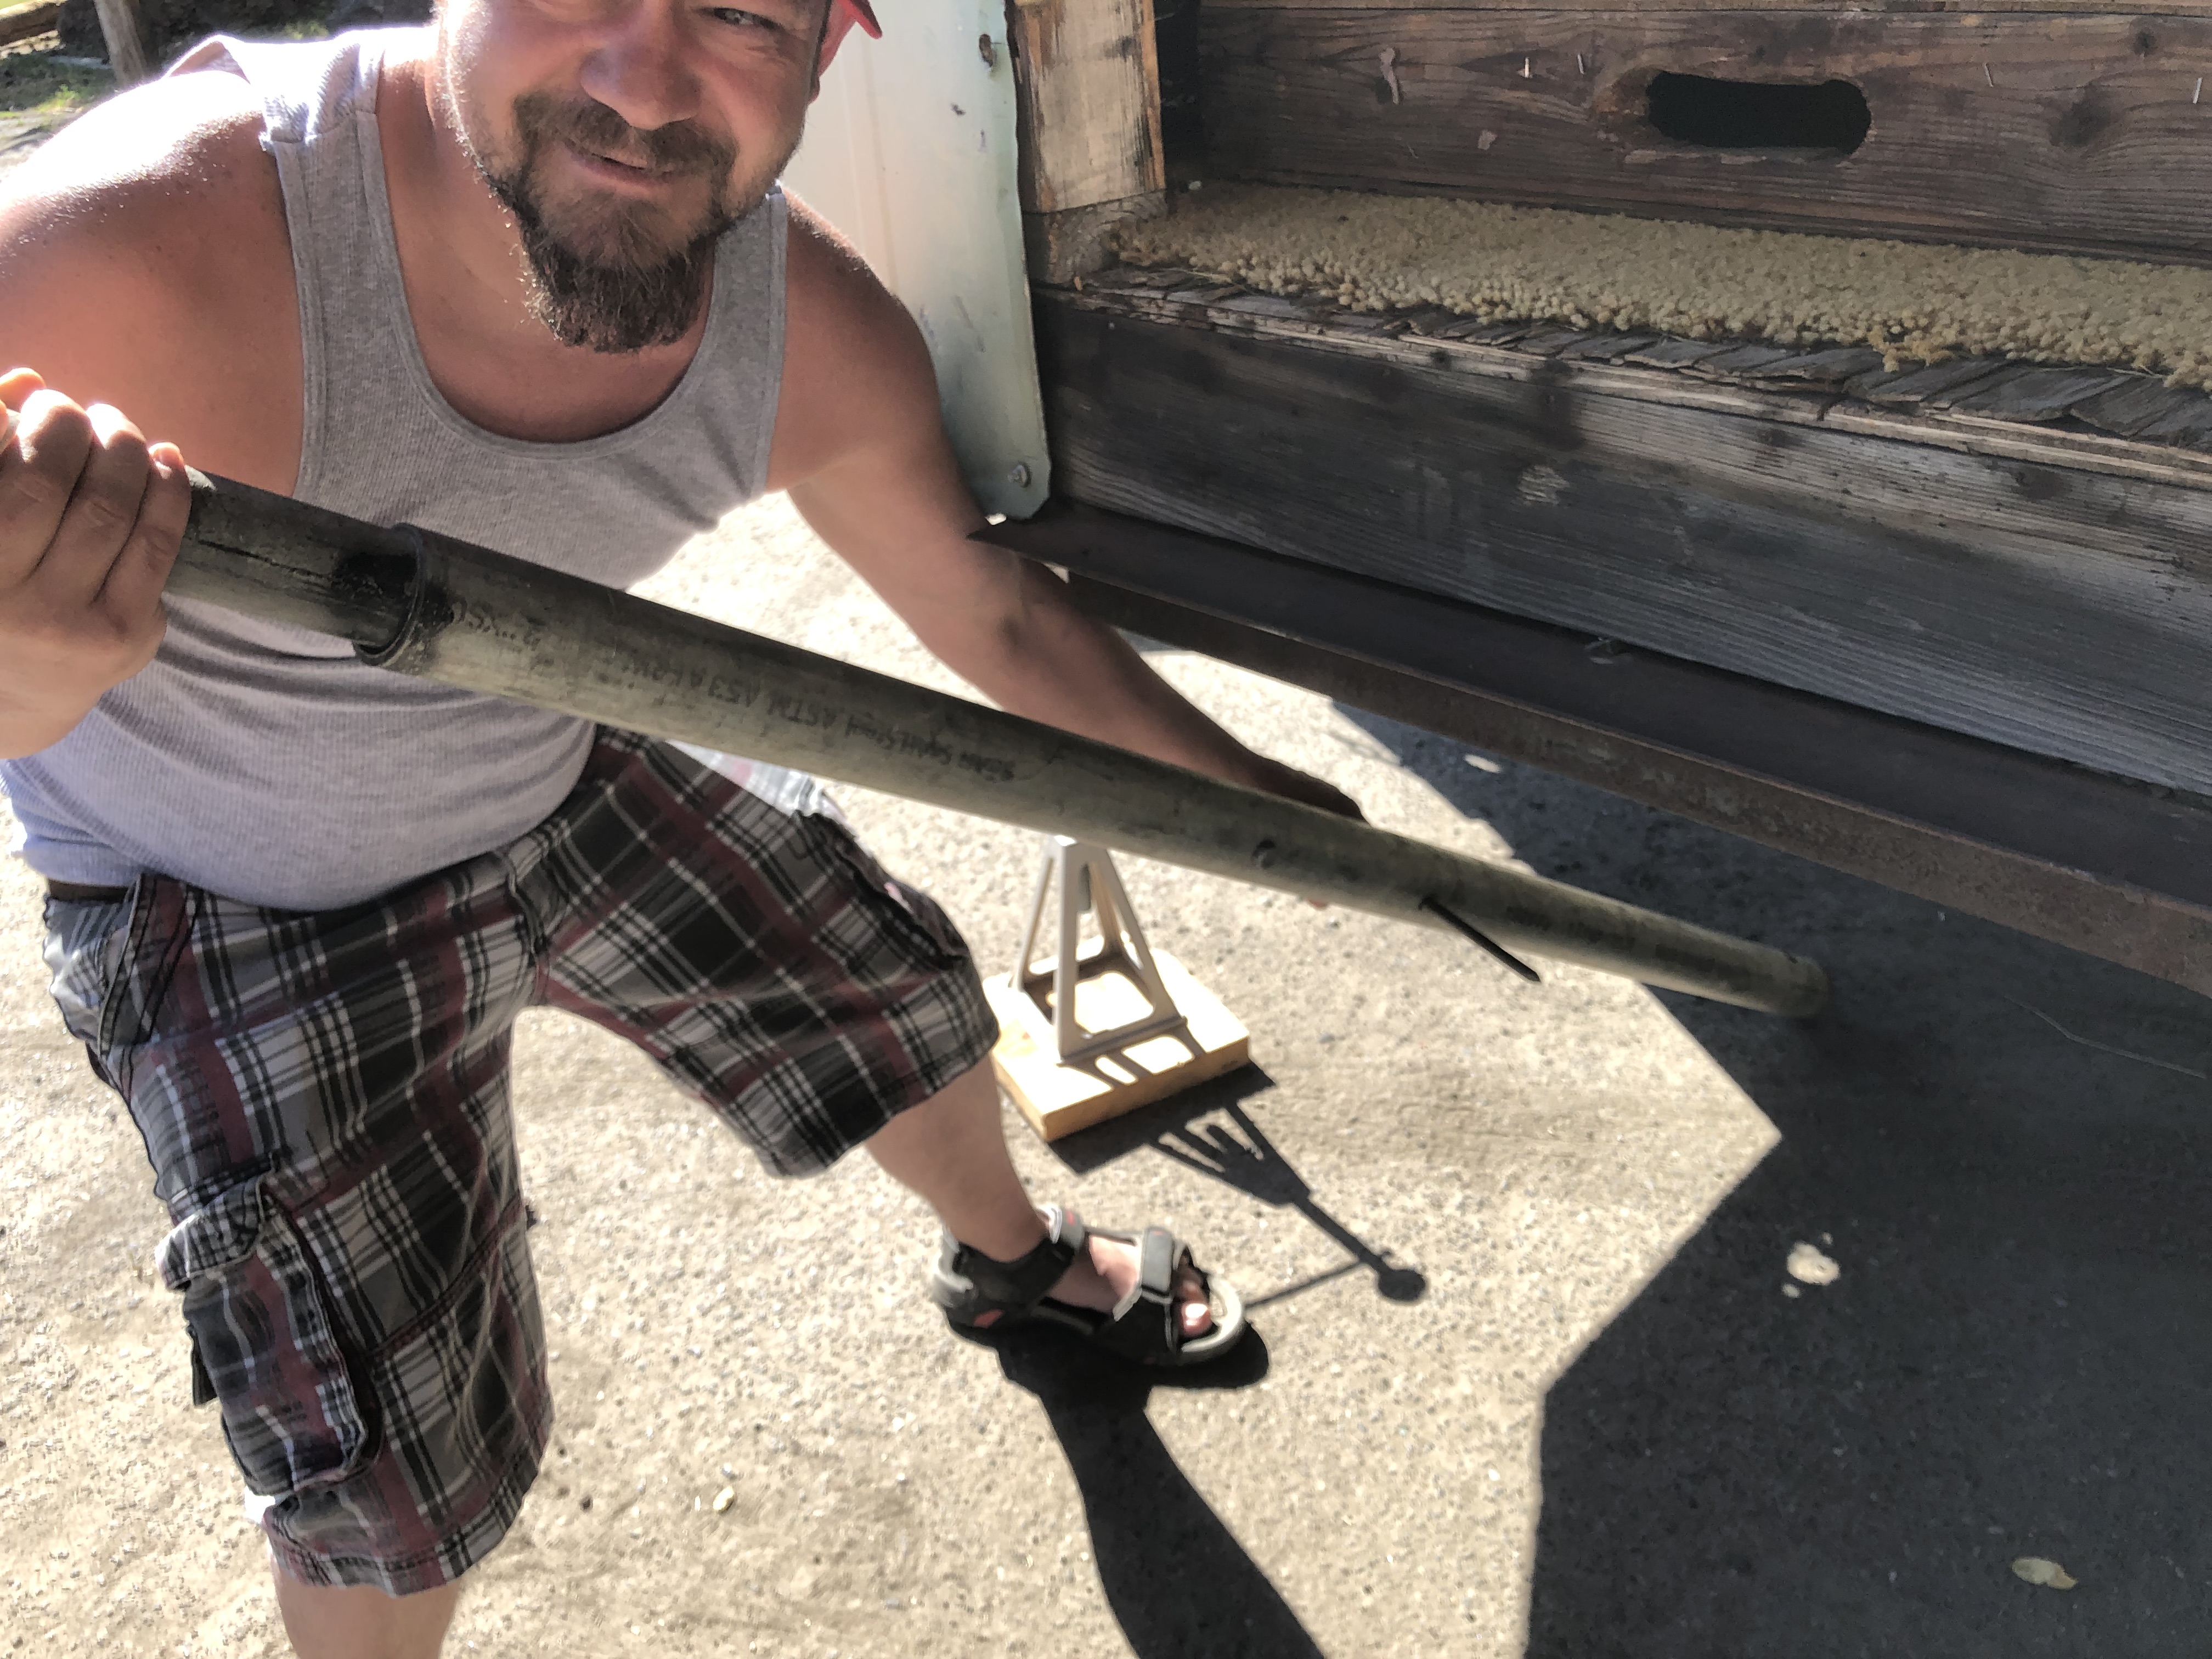
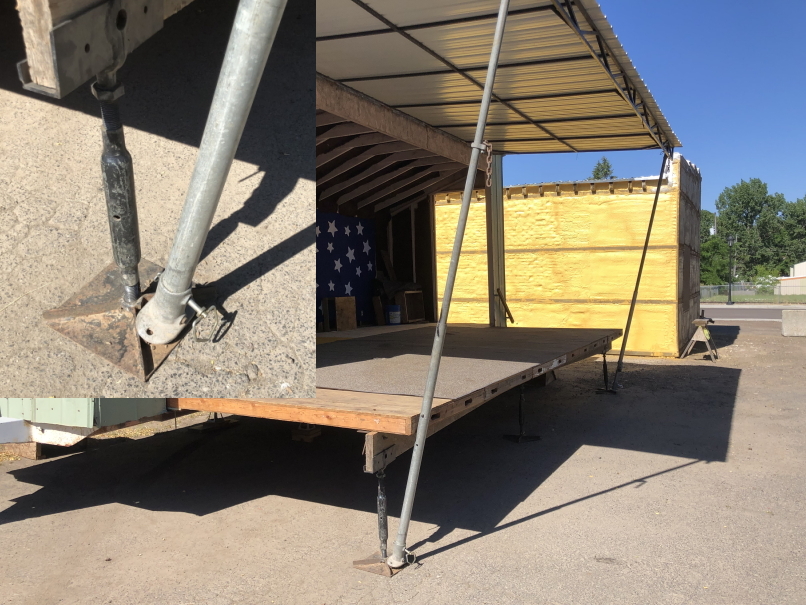
4- Take out the long, metal poles. Push the big end of each pole under the stage at each side of the awning, leaving the smaller end pointing out.
5- Lift the awing enough to place the small end of each pole in the socket at the bottom corner of each side of the awning. Line up the holes and put a pin thought the socket and pole to hold the pole in the socket. (The pins are in the bucket, and should be returned there at take-down.)
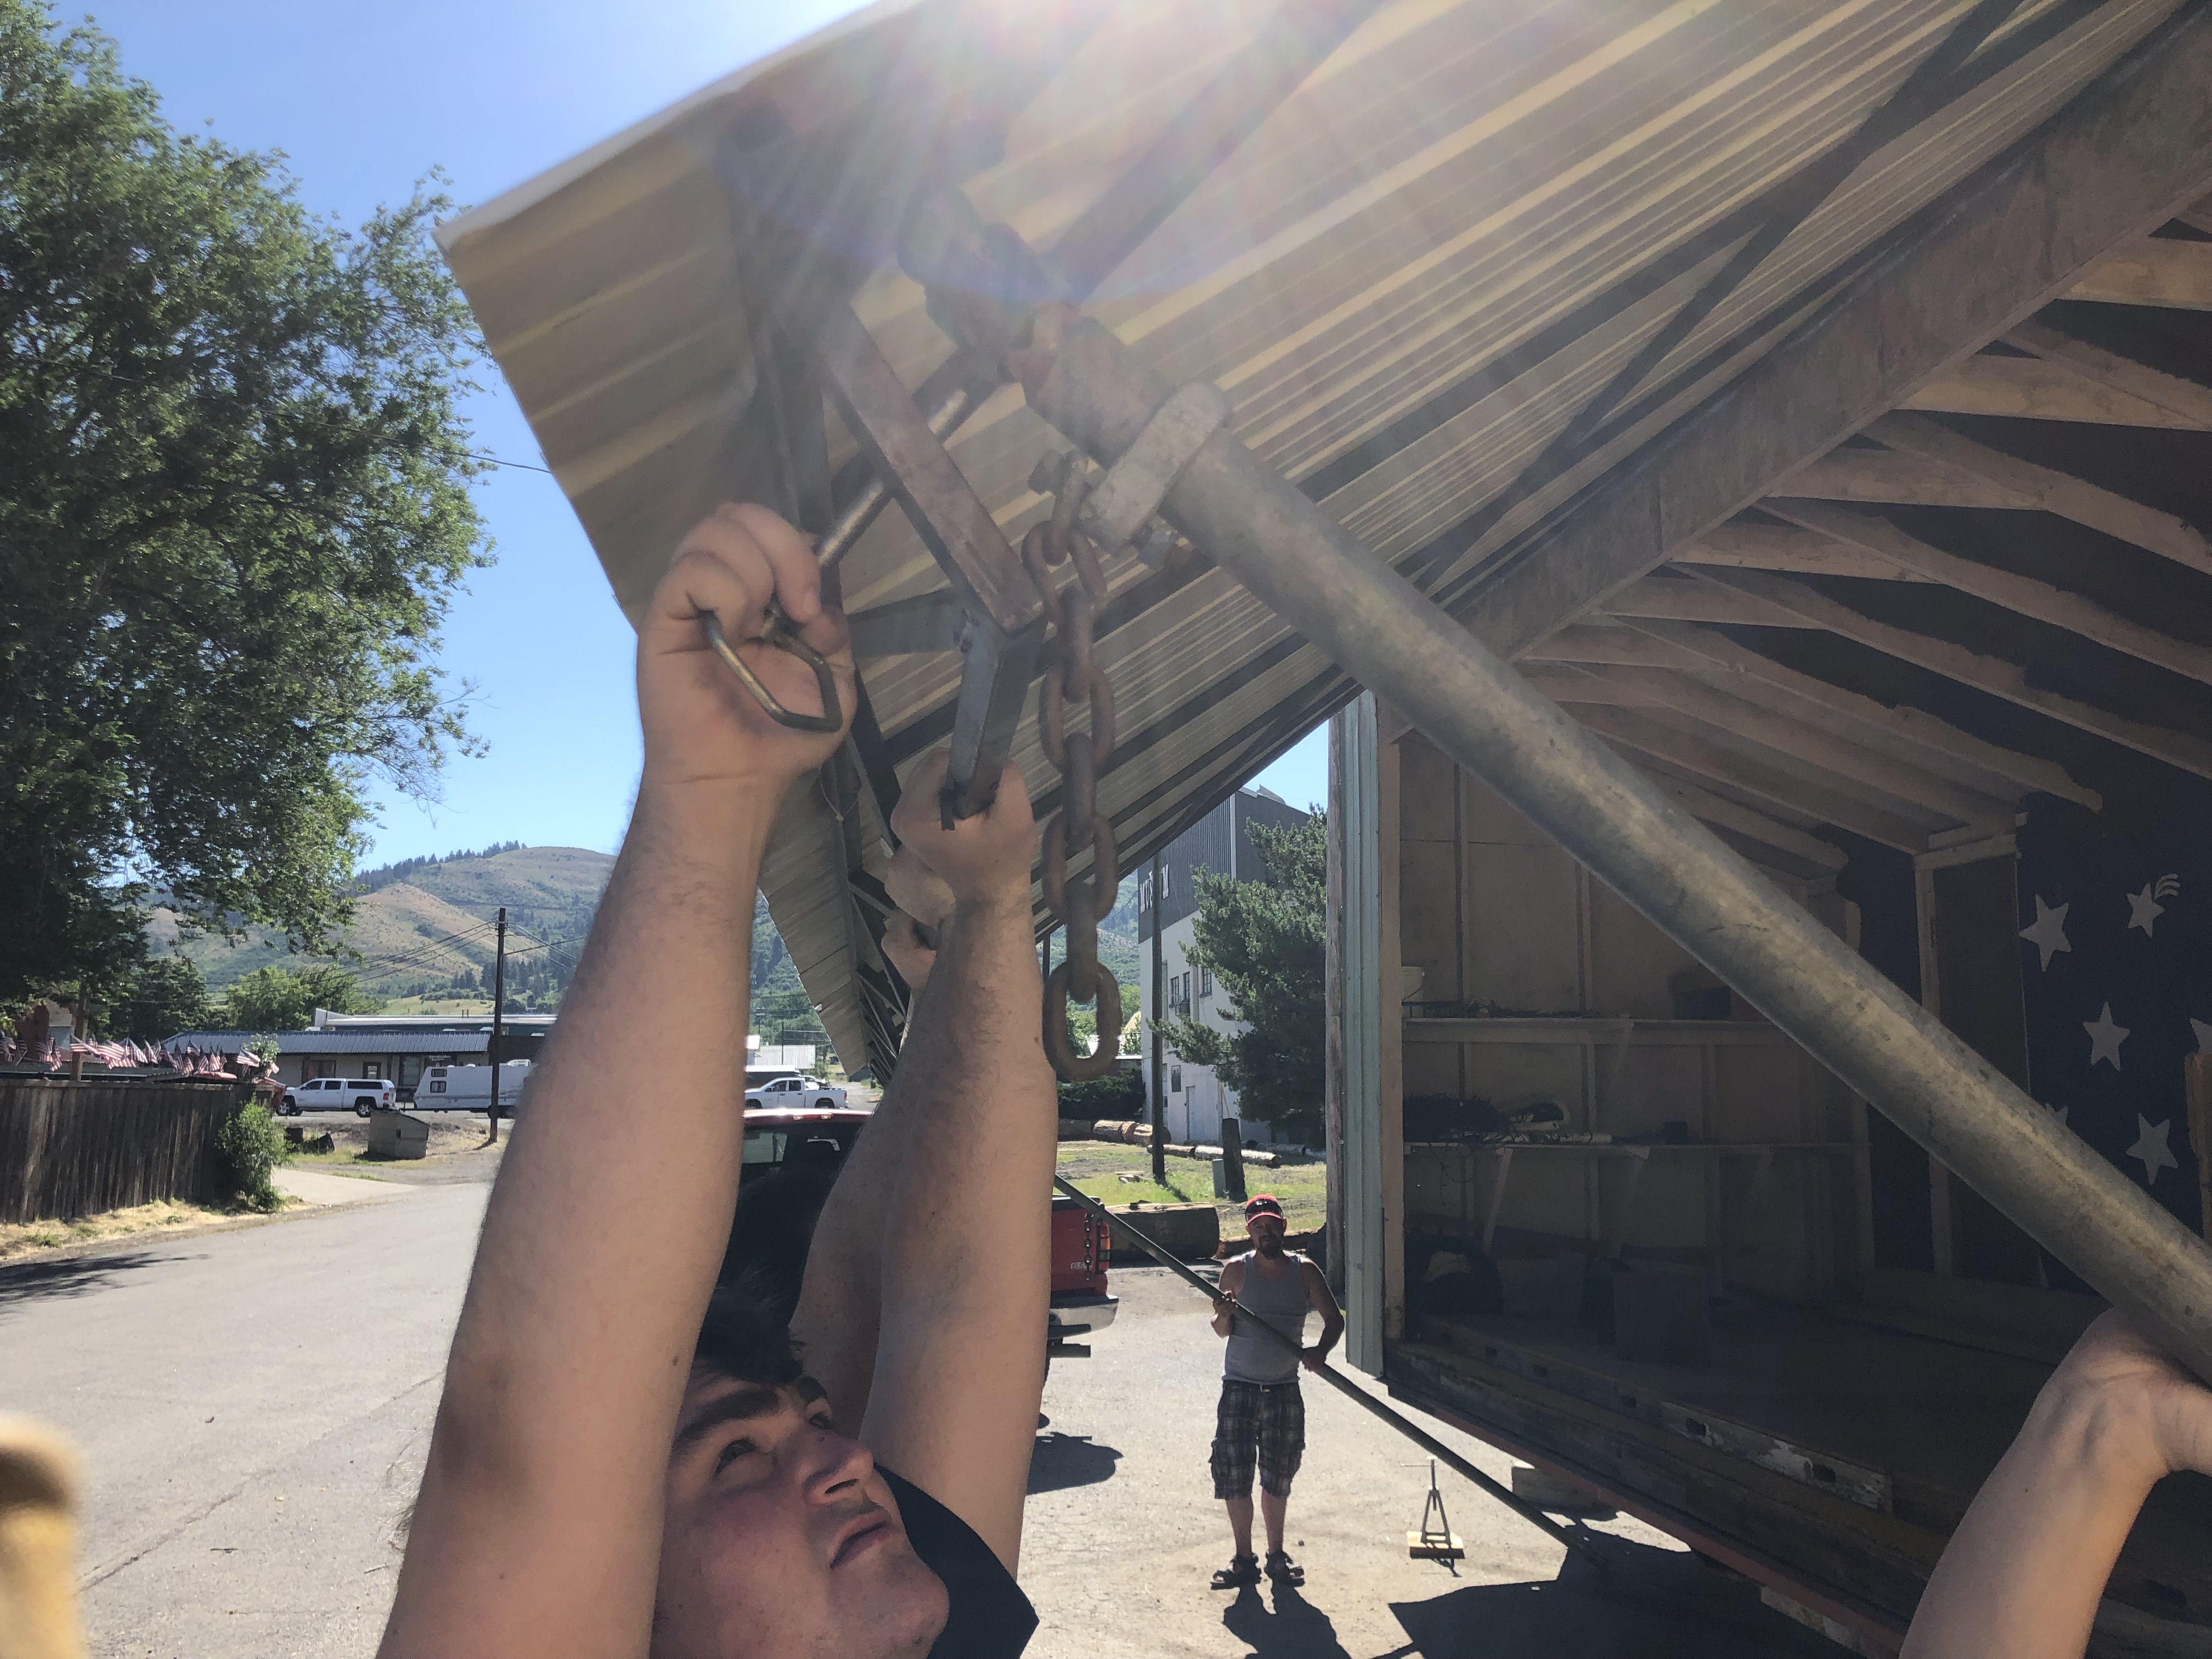
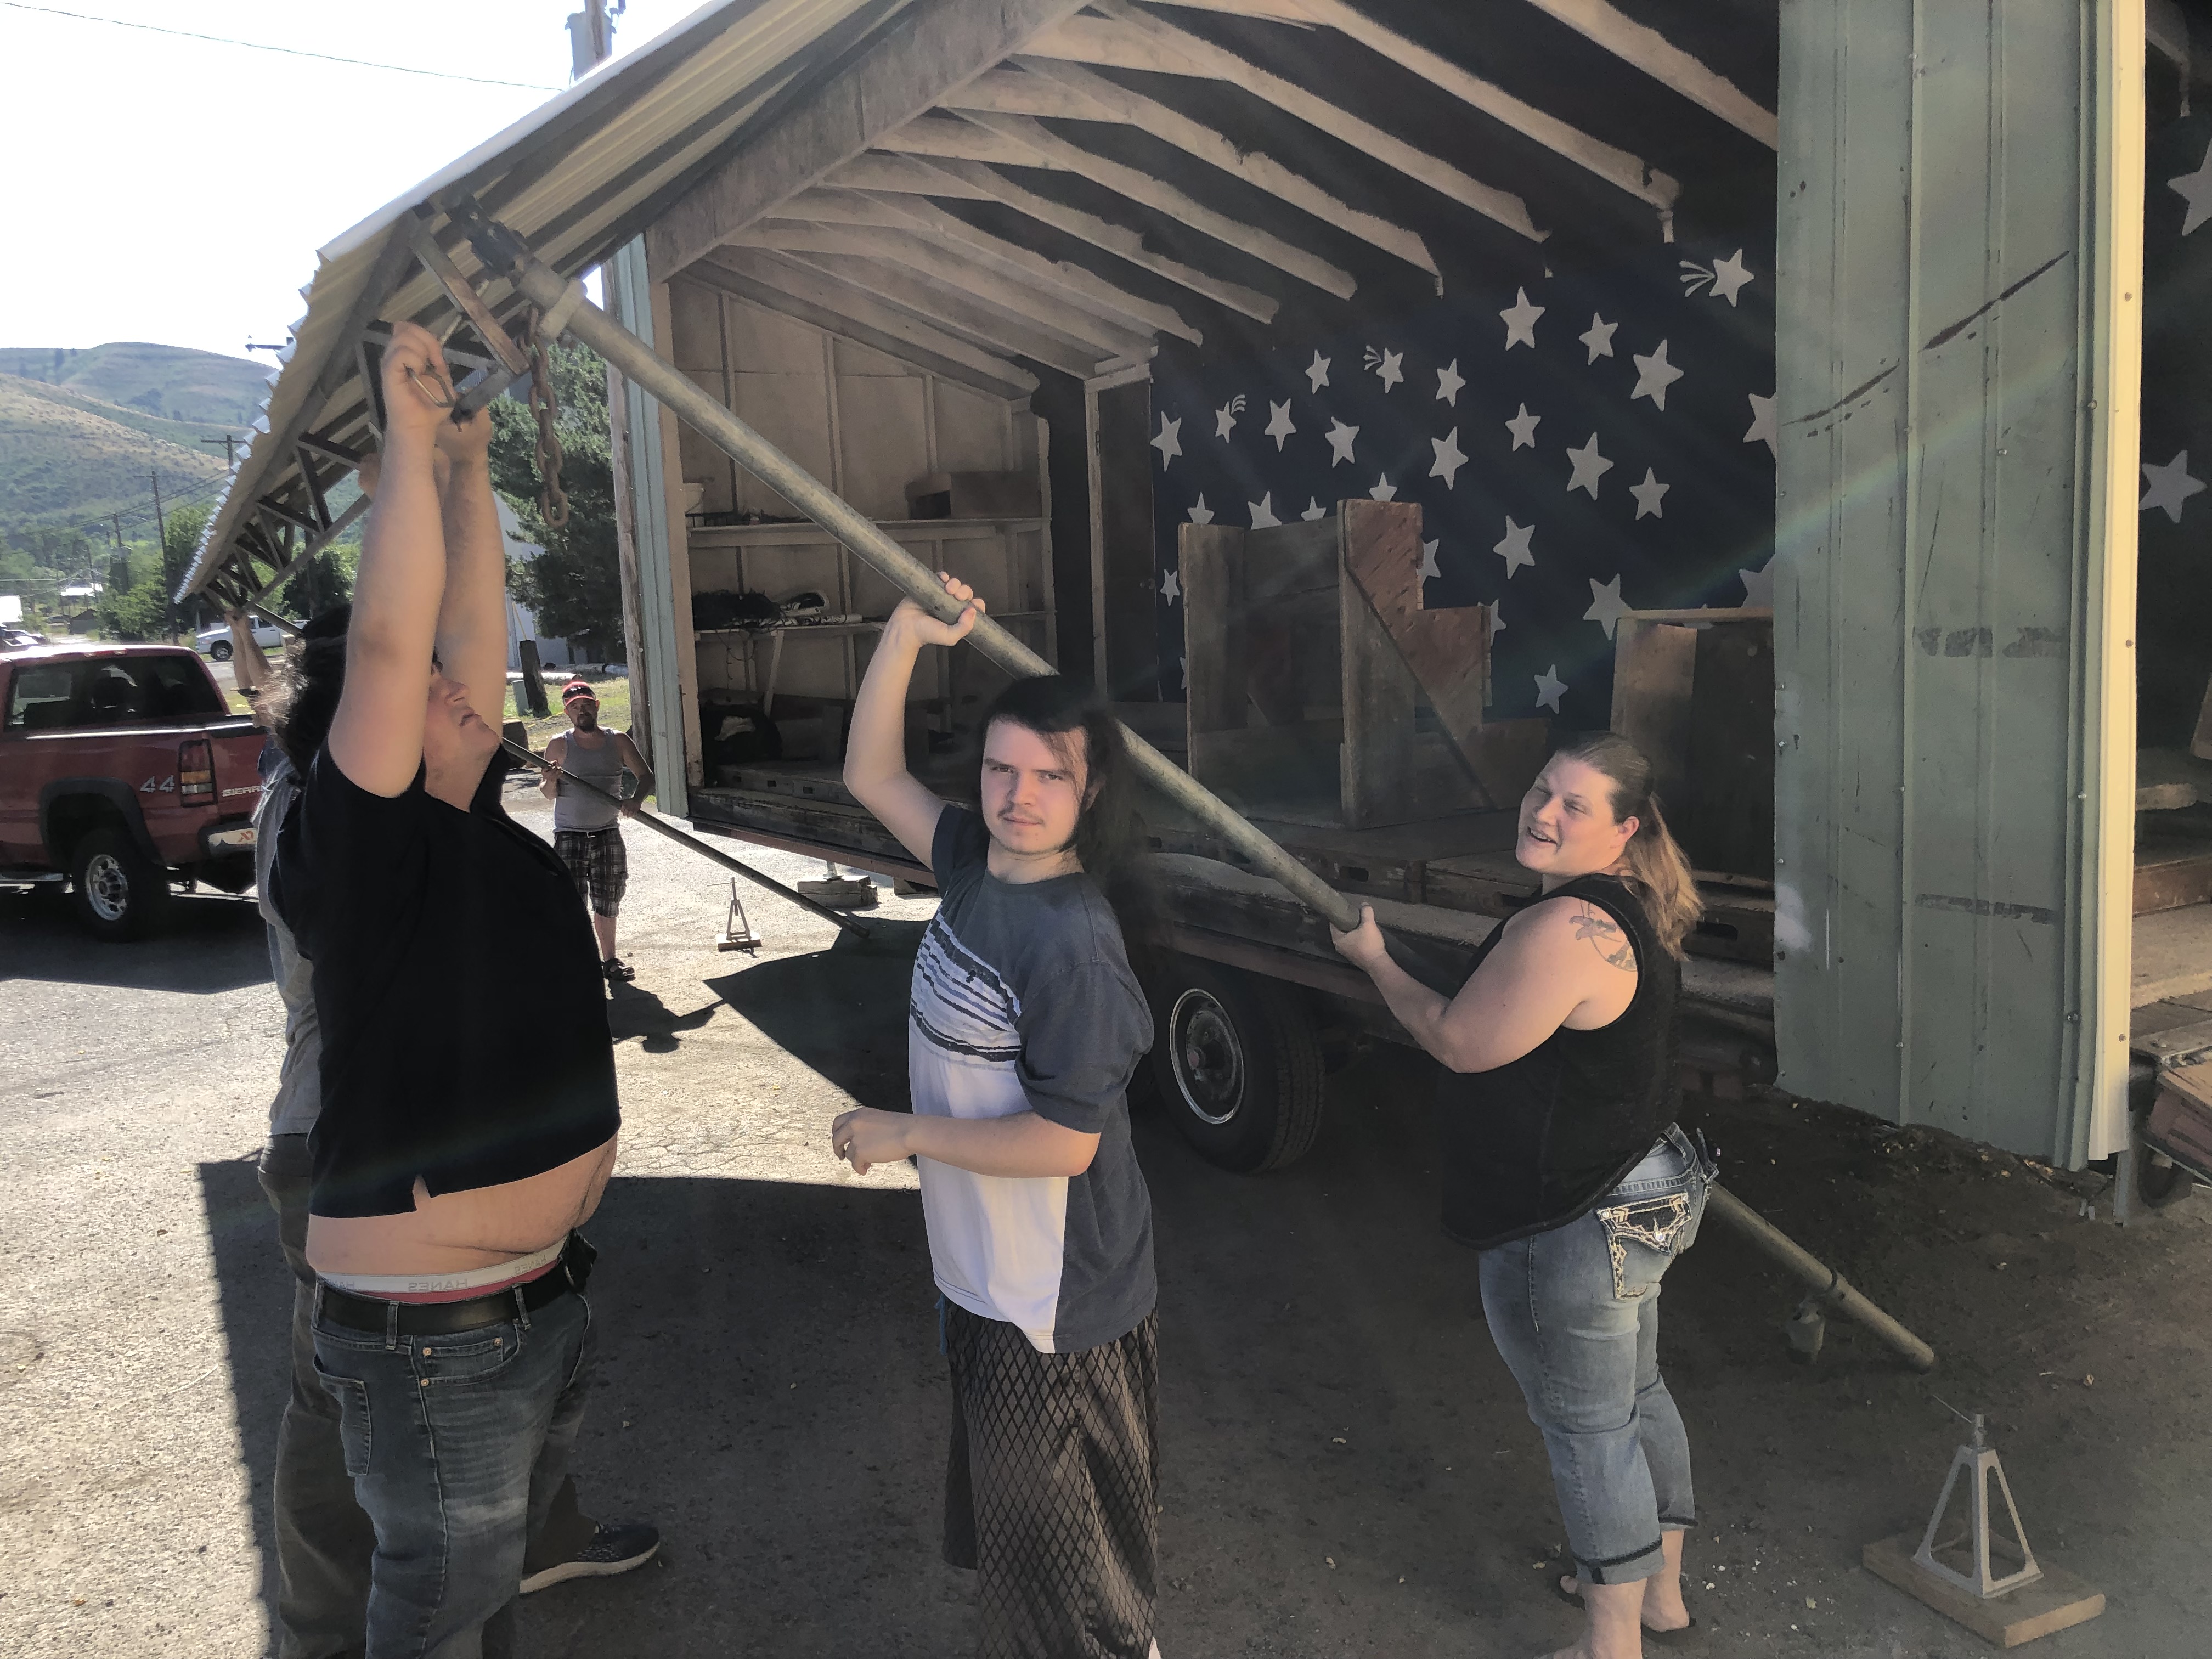
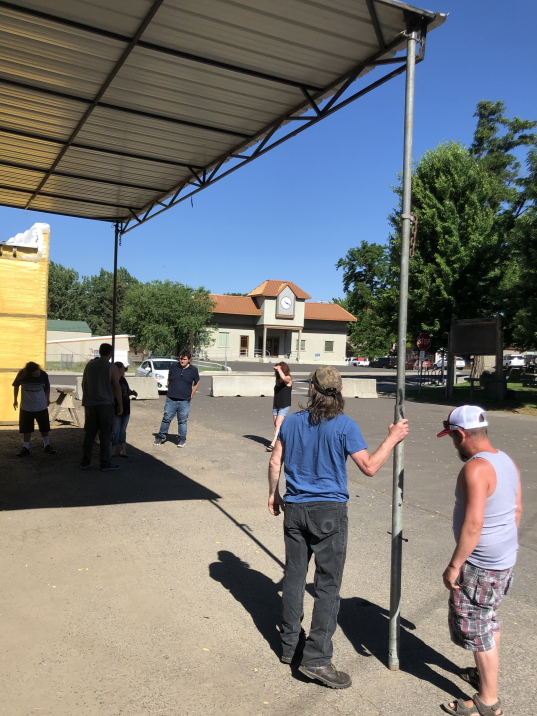
6- Put a large nail (from the bucket) though the lower part of each metal pole. There are holes for this. Two people on each pole should grab that nail (or at least one person should take hold of the nail) and push the pole upward and outward. Both sets of people obviously need to coordinate to lift about the same amount at a time. Lift the awning until the poles are nearly vertical. Rest the poles on the ground, propping up the awning.
7- Removed the two big “extension support” boards from inside the stage. Set them up parallel to the stage, about 6 feet out from the stage. There is a metal support for each end of the set of boards, plus a center support. The metal socket at each end of the set of extension support boards must face away from the stage. (The base of each metal pole will go in them.) The boards can just rest on the supports and don't need to be pinned.


8 – One at a time, slide each 4' X 7' stage extension panel out. The first panel (doesn't matter on which end you start) needs to have its stage end rest on the heavy angle iron that runs along the side of the stage. The other end rests on the big boards with the metal supports under them. Important: The holes in the stage extension panels must line up with the holes in the angle iron on the stage end, and with the big, wide piece of angle iron on the end of the extension support boards. Nails go down through holes in the stage extension at each end to hold it in place. (The holes on the end panels are in positions that are a little tricky, and one hole at one of the ends doesn't have an angle iron hole at the stage end.)
After all the stage extension panels are pulled out and pinned in place, the outer ends of the panels will need to be leveled with the stage. A big metal turnbuckle under the extension support boards are screwed up or down for this. Stiack a long nail through the body of the turnbuckle to turn it. If the turnbuckle can't be shortened enough to level the extension panels, it may be necessary to dig a hole under the foot of one or more of the extension support supports.
9- The base end of each metal pole goes into the socket at the ends of the extension support boards. Put a pin (from the bucket) through the holes in the socket and pole base to hold each pole into the socket.
10- There are two sets of steps that can be used to access the stage. The larger set goes beside the ramp, up to the rear-most stage extension panel. A hand rail for these steps screws to the side of the stage. The lag screws should already be in the side of the stage. Please put them back at take-down so they will be there when needed again.

11- Unroll the carpet. It's usually best to line it up with the front of the stage.
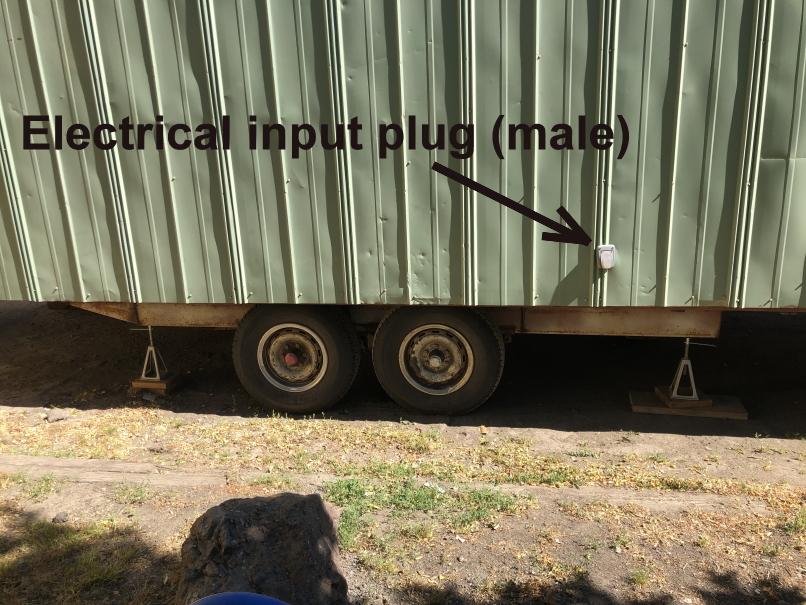
The power outlets at the back of the stage can be powered by plugging a heavy extension cord into the back side of the stage at the little, metal access bracket with a flip-up cover.
When taking down the stage, please return all pins, nails, etc. to the bucket. The bolts at the corners of the awning only need to be finger-tight.